The Observatory
Intro
Video Tour
Build
Observatory Build
After ordering the dome from Sidereal Trading in Melbourne, it arrived in a big truck after only a few days.
Meanwhile, the concreters came and poured the slab. The orange conduit carries power from the house and the black things are plastic flower pots to create holes in the slab for the tripod legs.
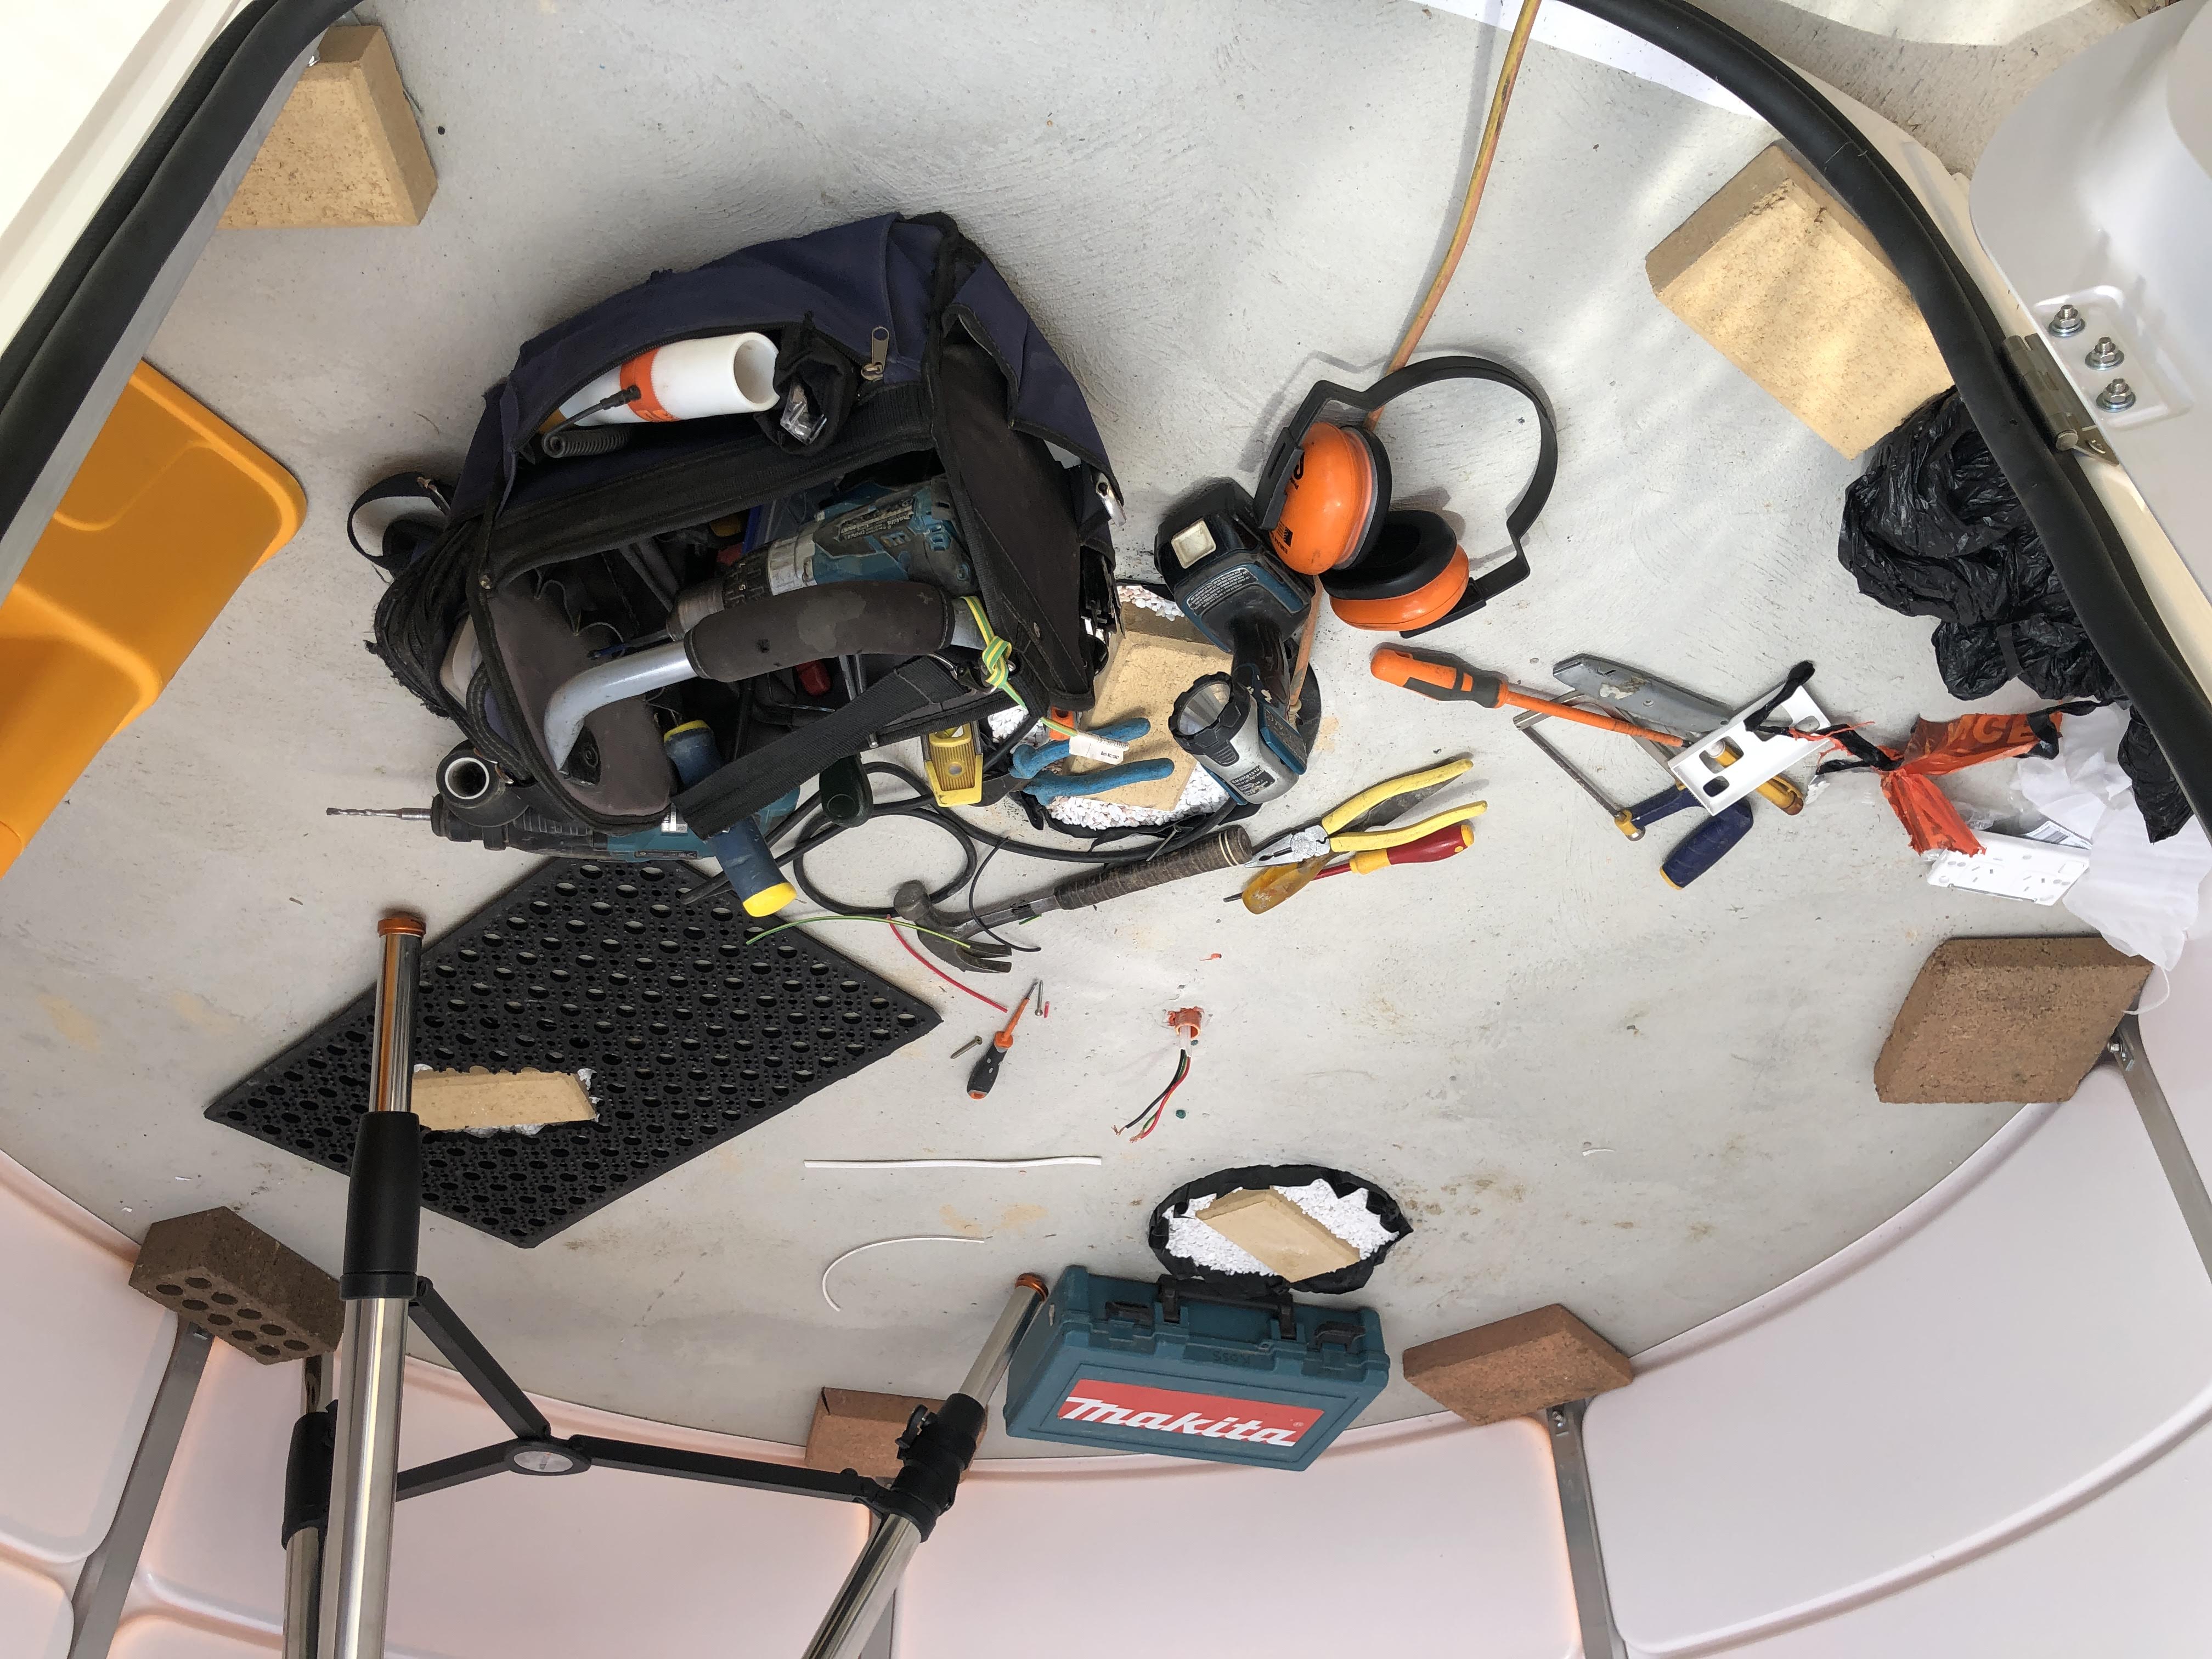
Testing the tripod for fit. Each leg rests on a paving stone in a hole in the slab. This isolates the tripod from the slab to minimise vibration.
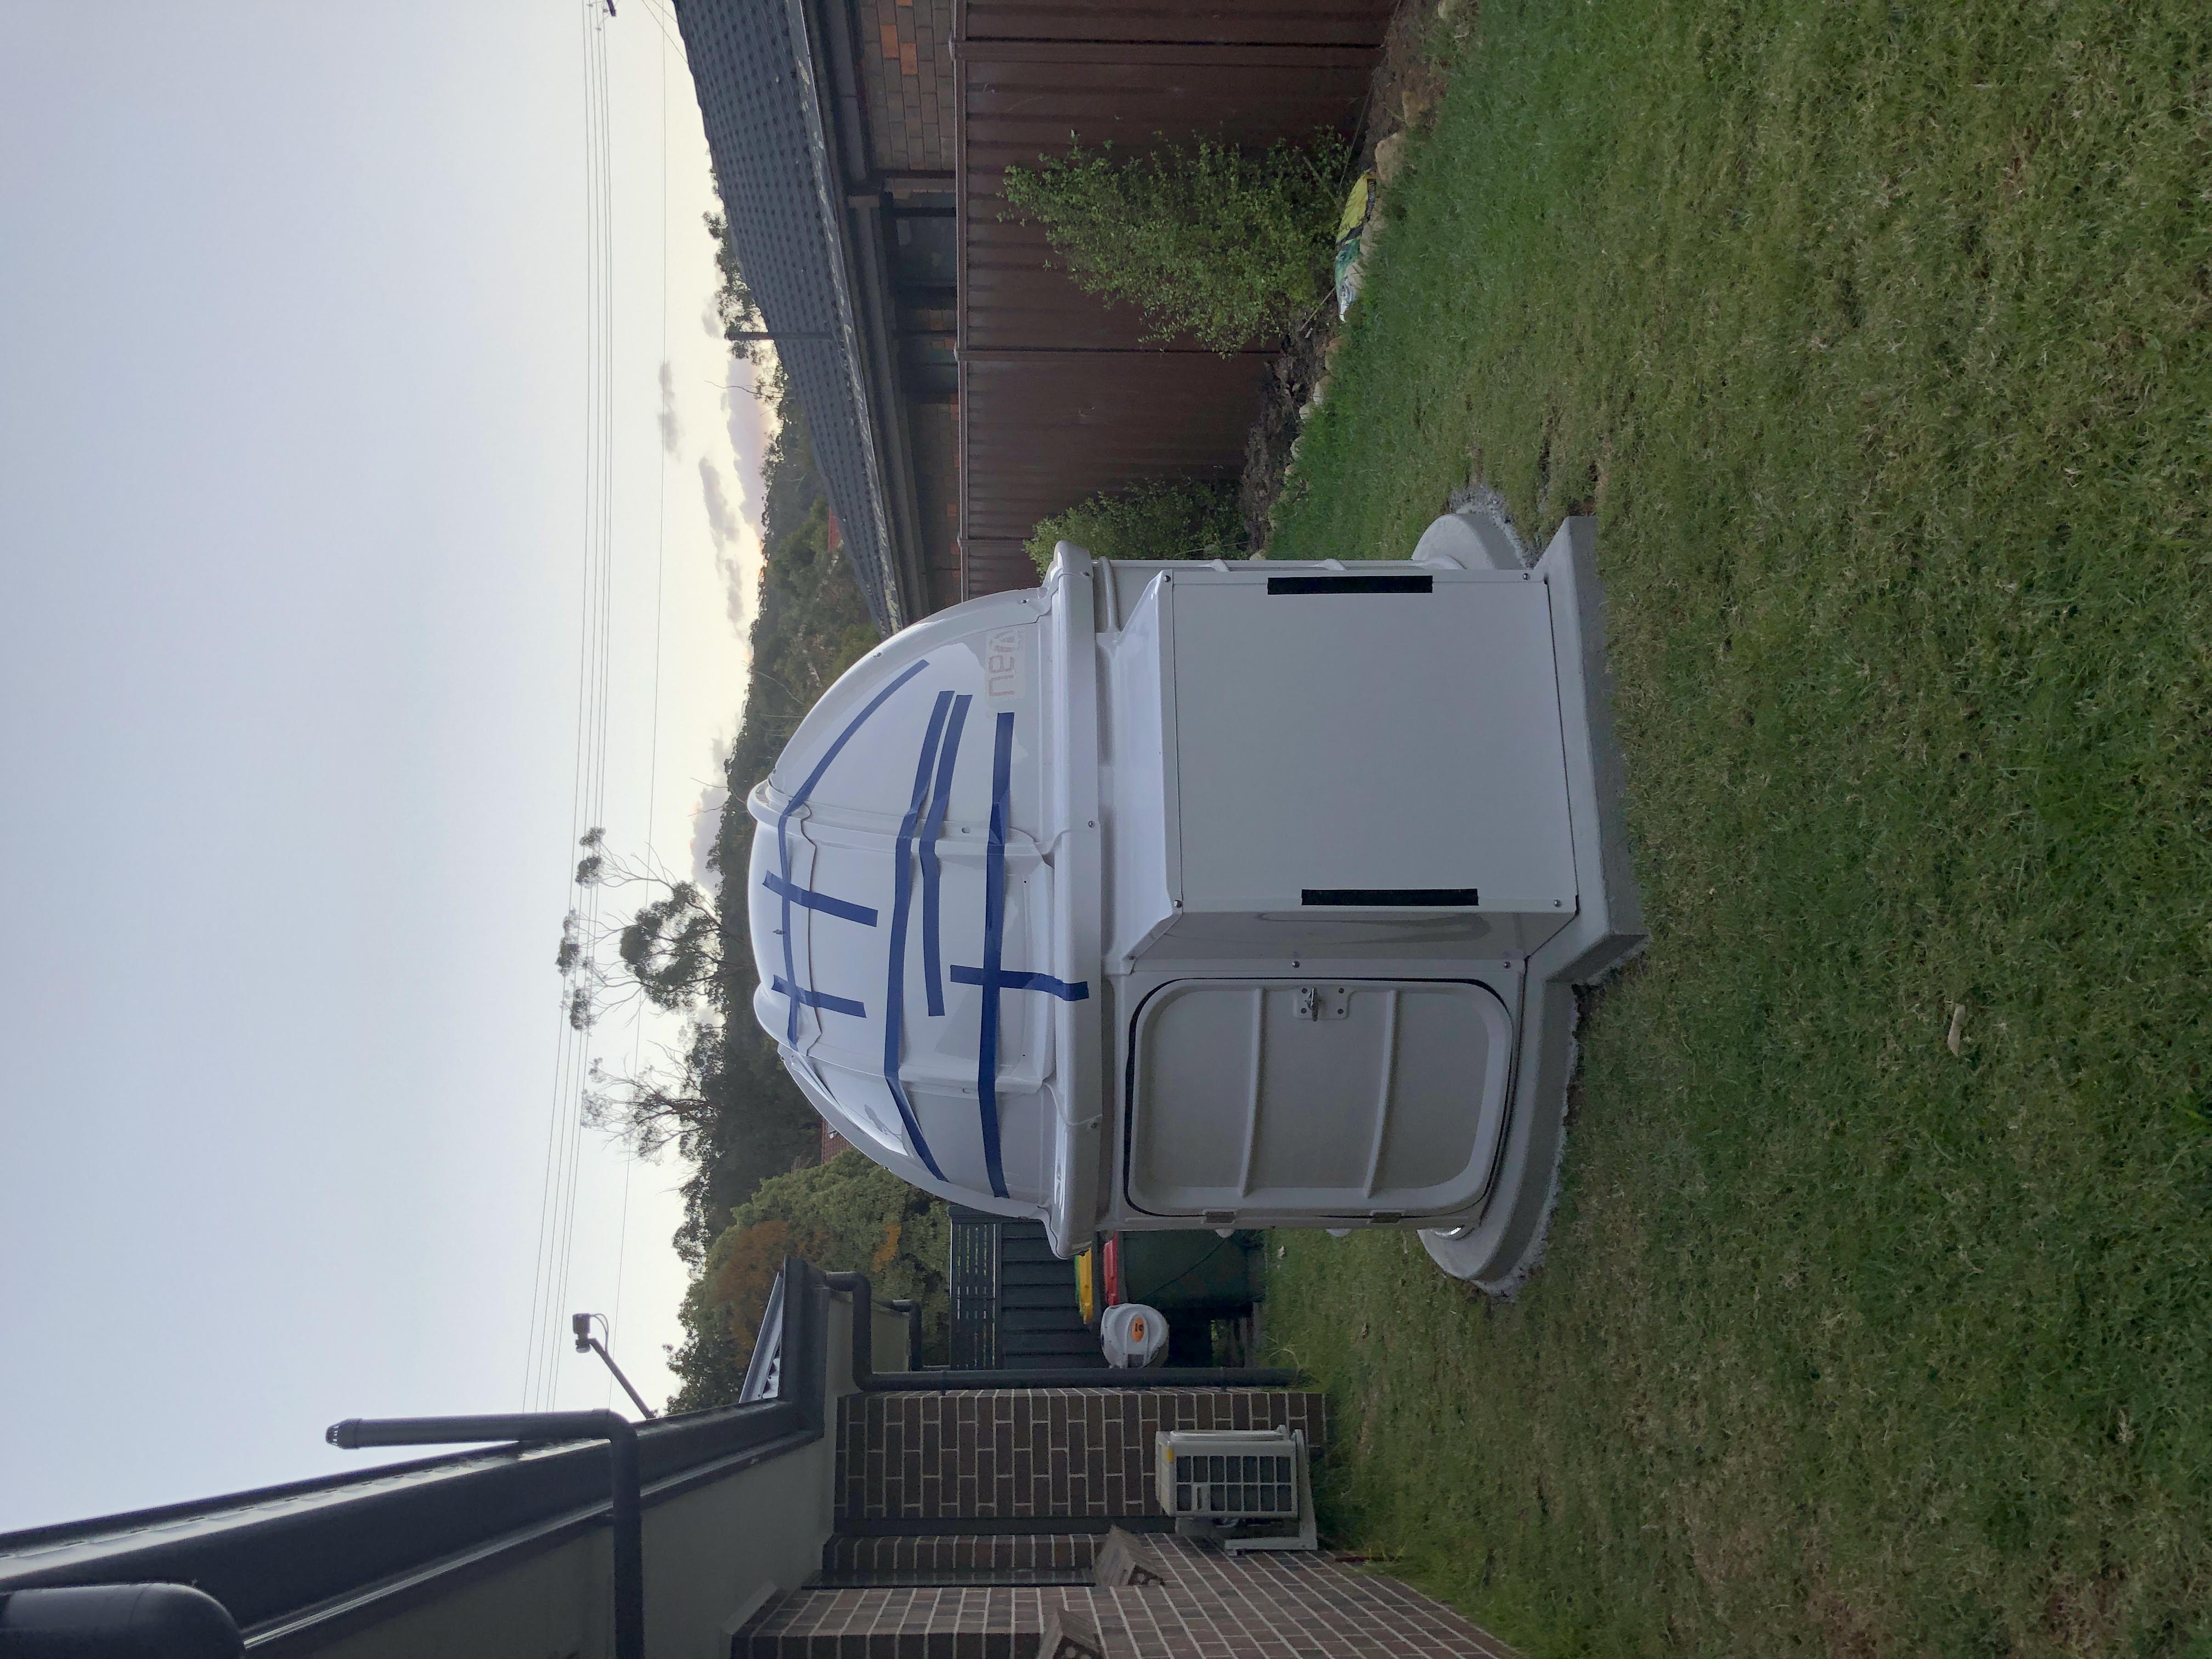
The structure is almost complete except for securing the shutter. So it's held on with tape temporarily until the next day.
The tripod leg rests on a paving stone which is isolated from the concrete by gravel.
The structure is not yet attached to the slab, so paving stones and bricks are laid on the brackets at the bottom of each post to weight it down.
The dome rotation motor is bolted to one of the posts and the gear wheel meshes with the track.
Rubber mats are cut to fit the floor. These provide a small air gap between the concrete and the carpet which will go on top.
Rubber backed carpet mats are added to complete the floor. Note the three paving stones for the tripod legs and the white power outlet.


